This year has turned out to be a drastic one for the whole world. We cannot step out; as much as, we use to earlier. It is necessary and we need to be handling the situation cautiously for us and our family. Well, this is a time which we can utilize to cherish the ones we have near to us. Our family and try to do some fun leisure activities involving each member of the family. Wouldn’t it be great to have a mural painted by each and every member of the family? The beginning of the pandemic was extremely tough but now that we have the stores open we can purchase some stuff and create impressive art pieces at our home. Let’s talk about the wall painting projects you can be doing.
Stencil art

We have plastic folders at our disposal and a printer. You will need to have these two to have prepared stencil and paint for the wall. So you will need to pick up a clip art that you would like to add to your wall. It can be normal stars or it can be butterflies. You can also draw some roses or just some bigger polka dots. You need to take a print of these and place them inside the clear folder. Now, cut the file by tracing the image. You need to use a cutter, you can keep it one size or you can make different sizes. Give a base coat to the wall and let it dry. Now, using the stencil you can paint the object you have drawn. You will be glad to have done something so beautiful over the wall and these will look amazing.
Lines Art

For this one, you will need to paint the wall in a slightly darker tone. You can choose the colors you like. You will need two tones. One has to be dark and the other has to be light. The base coat has to be in a larger quantity and the top design will take lesser paint. Now, suppose you have painted the base coat as white and you want to add blue lines on it. You need the paint roller and wrap it using a jute bag. Secure the jute bag with the help of elastic bands. Now dip the roller in the paint and drag it over the wall. Don’t move it upside down, you need to move in one direction. Otherwise, you can get a different line. To make it look neat dip the roller every time before you paint as it will give you the same tone of shade on the wall. You can use many colors on the way or it can be just two.
Washing Brush

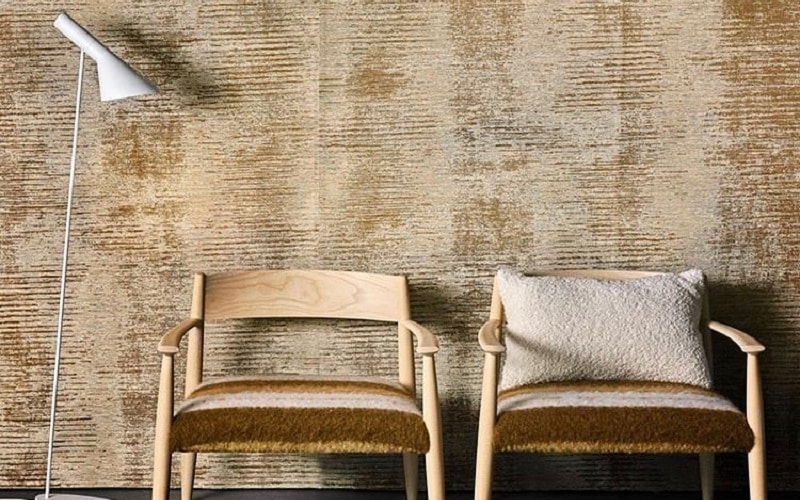
The next trick that you can do to make your wall look amazing is to use a washing brush on the wall. This has to be a quick step. And will need the use of plaster and paint. Firstly apply a nice layer of plaster on the wall and have fun with the brush on the wall. You need to apply the brush over a patch and then remove it when it is wet. As soon as you remove the brush, it will see the texture of the wall. Now, use the brush to do the same thing all over your wall. Once the texture is dry, think which paint you are going to do over it. You need to bring that paint and a brush. If you are thinking of working with a roller then, that will not give you the right paint on the wall. You need to work with a brush. Now, dip the brush into the tint and paint your wall.
Clear Wrapping Sheet

The next DIY is going to be simple. You need to use clear wrapping paper and some paint. Paint the wall and don’t leave it to dry. You will need to apply a big chunk of wrapping sheet around the wall and move it in any pattern you want. Don’t leave it to dry with the paint as soon as you have got the texture, remove the sheet from the wall. Let it settle and you will have an adorable piece of art.

